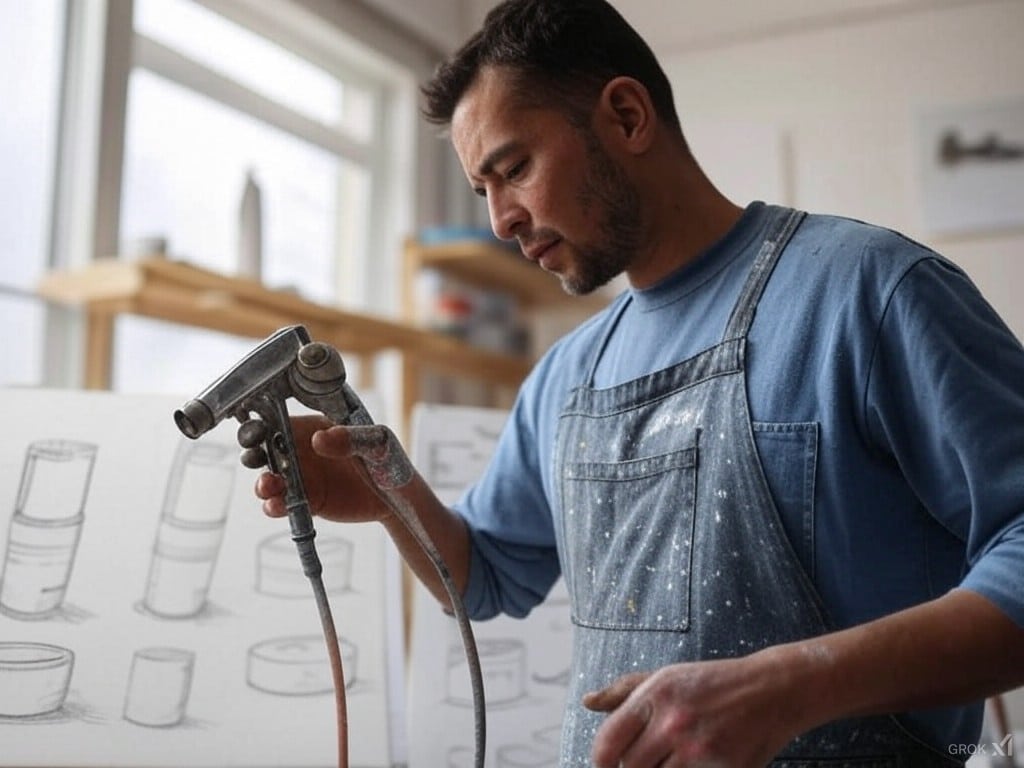
- Choosing a Spray Gun
- How to Properly Dilute Paint for a Spray Gun
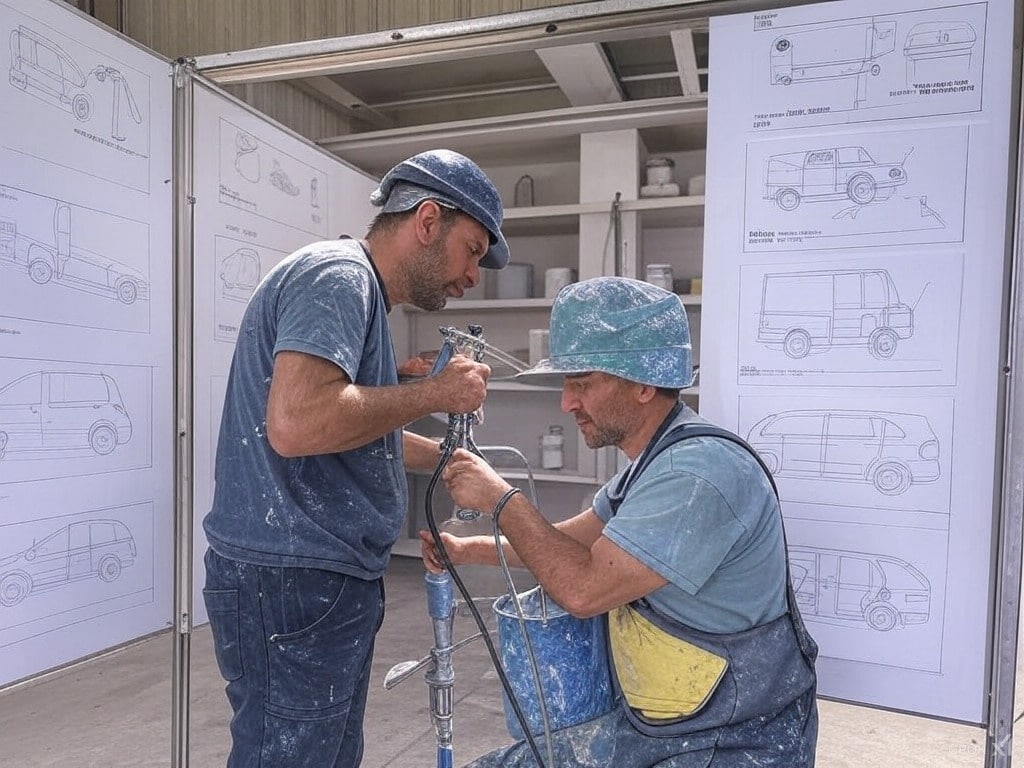
- Setting Up the Spray Gun
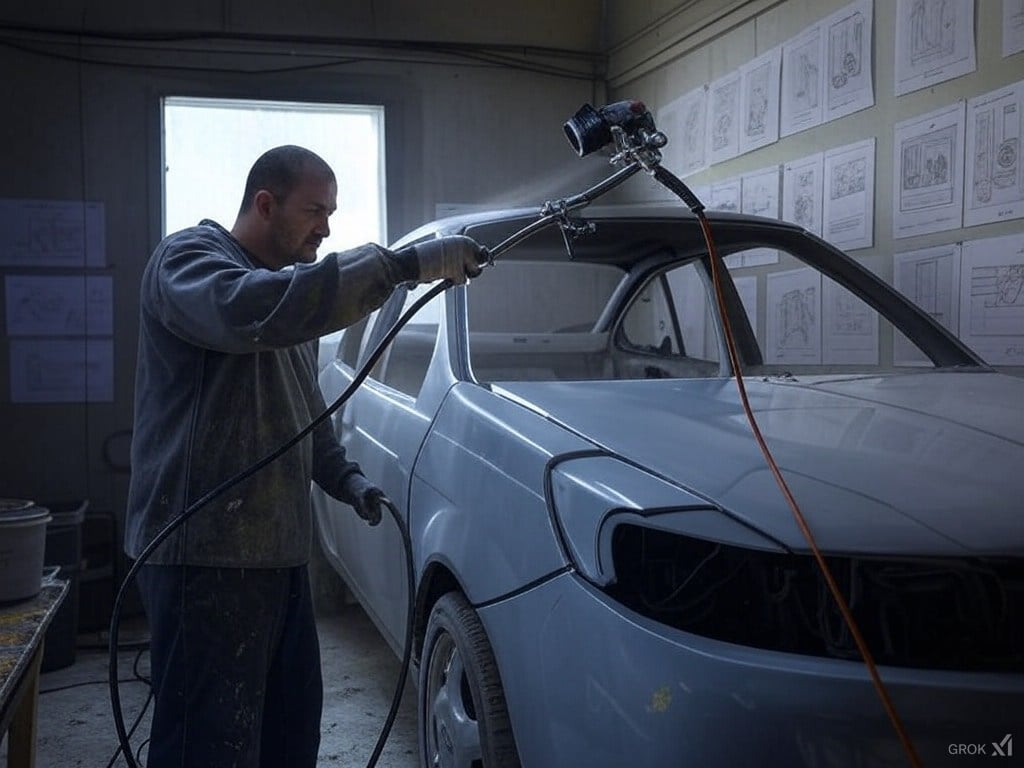
- Spray Gun Techniques
- Maintenance of the Spray Gun
- Safety when Using a Spray Gun
- Frequently Asked Questions
- Conclusion
What is a Spray Gun and What is it Used For?
A paint sprayer, also known as a spray gun, is a tool used to spray paint or other liquid materials onto a surface. It is used to apply an even and uniform layer of paint, varnish, primer, or other coatings to various surfaces, providing a higher quality finish compared to traditional methods. Spray guns are used both in professional settings (in auto repair shops, manufacturing, and construction) and in home projects for painting furniture, walls, or decorative elements.
Advantages of Using a Spray Gun Over a Brush or Roller
- Even Coverage: A spray gun allows for an even application of paint, avoiding drips and unevenness commonly found when using brushes or rollers.
- Speed of Work: A spray gun significantly speeds up the painting process, especially when working with large areas or complex surfaces.
- Material Savings: Modern spray guns, especially those with HVLP (High Volume Low Pressure) technology, provide a high transfer rate of paint to the surface, reducing material waste.
- Access to Hard-to-Reach Areas: Thanks to narrow spraying, spray guns can reach areas that are difficult to access with brushes or rollers.
- Finish Quality: A spray gun achieves a smooth, professional finish, which is especially important for high-quality coatings in the automotive industry or furniture manufacturing.
Main Types of Spray Guns: Pneumatic, Electric, Airless
- HVLP (High Volume Low Pressure): Less paint transferred into the air, saves paint.
- LVLP (Low Volume Low Pressure): Combines paint saving with fast application speed.
- HP (High Pressure): High application speed, but with higher air and paint consumption. Examples from SATA include the SATAjet, known for its ergonomics and high spray quality. Devilbiss offers the GTiPro models with various spraying technologies for different tasks.
Electric spray guns use an electric motor to create pressure, making them portable and requiring no compressor. They are ideal for small projects or for those who do not want to invest in a compressor.
Airless spray guns operate by generating high pressure using a special pump, allowing them to apply thicker materials like primers or varnishes. They provide high performance and fast application, but require more thorough surface preparation due to the possibility of drips.
For more precise information about products from SATA and Devilbiss, it is recommended to consult the official materials from these companies, as they constantly update their product lines and technologies, providing the most current data for professionals and enthusiasts.
Choosing a Spray Gun
Choosing a spray gun is a crucial step that directly affects the quality of the finish, material savings, and work efficiency. The correct choice of tool determines how even the paint layer will be and how quickly you can complete the task.
Selection Criteria:
- Type of Paint: Electric spray guns are ideal for less viscous, water-based paints, such as acrylic or latex. For example, the Wagner W100 model would be a great choice for painting walls or furniture. Pneumatic spray guns work better with thicker materials like enamels, primers, or varnishes. For these purposes, you can consider models like the SATAjet 1500 B.
- Work Volume: For small home projects, such as painting furniture or decorative elements, electric models are suitable. They are lightweight, compact, and do not require a compressor. For professional tasks, such as painting cars or large areas, pneumatic spray guns should be chosen, as they provide high performance and an even finish.
- Budget: Electric spray guns are generally cheaper due to the absence of a compressor, which is required for pneumatic models. However, considering durability, spray quality, and paint savings, pneumatic models like the Devilbiss GTiPro might be more cost-effective in the long term.
Comparison of Pneumatic and Electric Spray Guns:
- Pneumatic Spray Guns:
- Advantages: High-quality application, ability to work with thick paints, more precise spraying thanks to air pressure adjustment.
- Disadvantages: Require a compressor, which increases cost and installation complexity, noisy, require more maintenance due to the need for cleaning from dried paint.
- Electric Spray Guns:
- Advantages: Easy to use, lighter weight, no need for a compressor, suitable for home use.
- Disadvantages: Less precise spraying, limited air pressure, not suitable for very viscous paints, may have high paint consumption.
Main Characteristics:
- Nozzle Size: Determines how thin or thick the paint layer will be. For fine coatings, a smaller nozzle diameter is needed (around 1.2 mm for HVLP), while for thicker paints, a larger nozzle (up to 1.8 mm) is used.
- Air Consumption: For pneumatic spray guns, air consumption is important for quality application. Models with HVLP technology, such as the SATAjet 5000 B HVLP, provide minimal paint loss.
- Power: For electric models, power affects performance. The higher the power, the easier it is to work with thick materials. However, keep in mind that increased power raises electricity consumption.
| Characteristic | Pneumatic | Electric | Airless |
|---|---|---|---|
| Operating principle | Uses compressed air to spray paint. | Operates from an electrical outlet or battery. | Sprays paint under high pressure without using air. |
| Application | Suitable for small and precise tasks. | Ideal for household and small projects. | Effective for large areas and thick coats. |
| Coating quality | Very high, even coverage. | Good, suitable for most tasks. | Fast, but may leave a slight texture. |
| Paint consumption | Average, but depends on the settings. | Low, with the right paint viscosity. | High, due to the large volume of paint supplied. |
| Ease of setup | Requires experience for optimal setup. | Easy to use, minimal adjustments. | Medium difficulty, pressure needs to be adjusted. |
| Cost | Inexpensive tool, but requires a compressor. | Affordable, but depends on power and brand. | Expensive, suitable for professionals. |
| Suitable paints | Any, with proper setup. | Latex, acrylic, alkyd. | Thick paints, such as enamels or facade paints. |
| Maintenance | Requires thorough cleaning of nozzles and hoses. | Easy maintenance, simple to clean. | Needs thorough cleaning of spray parts. |
The choice of the right spray gun depends on your tasks, budget, and preferences. If you want to achieve perfect results, review the features of the models and user reviews. This will help make an informed decision and achieve a smooth, professional coating on any surface.
How to Dilute Paint for a Sprayer?
Proper paint dilution is a crucial step in preparing for painting. Let’s explore how the paint viscosity affects the uniformity of the coating, material savings, and equipment longevity. We’ll also take a look at different types of thinners for popular paint types, methods of measuring viscosity, and a step-by-step guide on how to dilute paint for the perfect result with a paint sprayer.
Why is it important to dilute paint correctly?
- Uniformity of the coating: Correct paint viscosity ensures even application, preventing drips and spots.
- Material savings: If the paint is too thick, it will result in excessive consumption. If the paint is too thin, it won’t provide the necessary coverage, requiring additional coats.
- Equipment longevity: Properly diluted paint reduces the risk of clogging the sprayer nozzles, leading to longer equipment lifespan.
- Quality of the final coating: Optimal paint viscosity affects the smoothness of the surface and the brightness of the color, creating a flawless finish.
Choosing a thinner: Depending on the type of paint
- Oil and alkyd paints: These types of paints use white spirit, turpentine, or specialized thinners that help achieve the desired flow.
- Acrylic and latex paints: Diluting with water or using acrylic thinners will provide the correct consistency.
- Epoxy paints: Use special thinners for epoxy compositions that prevent the formation of bubbles and defects.
- Polyurethane paints: For polyurethane paints, specific polyurethane thinners are required to ensure proper application and coating protection.
Optimal paint viscosity for a sprayer
For most sprayers, the optimal paint viscosity is between 20 to 25 seconds on a Ford #4 viscometer. This allows the paint to spray well without losing its form and without dripping from the surface, ensuring a beautiful and durable finish.

Methods of Measuring Viscosity:
- Viscometer: The standard method for measuring viscosity, where paint flows through a calibrated hole, and the time it takes for a specific volume to exit indicates the paint’s viscosity.
- Test Spray: A less precise but quicker method, where the paint is sprayed onto a test surface to assess viscosity by the spray result.
Step-by-Step Guide to Diluting Paint:
- Preparation:
- Wear protective gloves and a mask if working with chemical thinners.
- Prepare the paint, thinner, measuring cup, viscometer (if available), and a clean container for mixing.
- Check Initial Viscosity:
- Check the initial viscosity of the paint using a viscometer or test spray method.
- Adding Thinner:
- Gradually add the thinner, starting with small amounts (e.g., 5-10% of the paint volume).
- Mix the paint thoroughly after each addition.
- Check Viscosity:
- After each addition of thinner, check the viscosity again until the desired level is reached.
- Test Spray:
- Perform a test spray on a piece of cardboard or another material to ensure the paint sprays correctly.
- Final Check:
- If the viscosity is not optimal, continue adding thinner or paint to adjust the consistency.
- Filtration:
- Filter the paint through a mesh or filter to avoid clogging the sprayer.
- Application:
- You are now ready to begin painting with the sprayer.
Important: The proportion of thinner may vary depending on the type of paint and the manufacturer’s recommendations. Always check the instructions on the packaging or in the technical data sheet to ensure the correct mixture.
Sprayer Setup
Proper sprayer setup is crucial for achieving a high-quality, even coating. Let’s explore how to correctly adjust the air pressure, spray width, and other parameters to achieve perfect results in painting. Learn how adjusting these settings affects the speed and quality of spraying, and get tips on creating the ideal spray pattern and using the sprayer correctly for different tasks.
Adjusting Air Pressure:
Goal: Air pressure affects the speed and quality of paint spraying. Too high a pressure can cause misting, while too low can lead to poor spraying and drips.
Process:
- Start with the manufacturer’s recommended pressure (usually listed in the sprayer’s manual or on the paint can).
- Conduct a test spray on a test surface, increasing or decreasing the pressure to achieve even spraying without misting.
- Typically, the optimal air pressure for most tasks ranges from 2 to 4 bar (30-60 PSI).
Adjusting Spray Width:
Goal: Spray width determines the area that can be covered in one pass. This is important for work efficiency and coating quality.
Process:
- The sprayer has a spray width adjuster, usually a ring or lever on the nozzle.
- For larger surfaces, use a wider spray, and for detailed work, use a narrower one.
- Test the width on a test surface to find the most suitable setting for your job.
Creating the Perfect Spray Pattern:
Goal: The ideal spray pattern ensures an even, smooth coating without streaks, spots, or mist.
Process:
- Air Pressure: Adjust the air pressure so that the paint sprays without mist, but without large droplets.
- Distance from the Surface: The optimal distance is usually between 15 to 30 cm. Keep the sprayer at a consistent distance while spraying.
- Movement Speed: Move the sprayer at a consistent speed to avoid the “nail head” effect (more paint in the center and less on the edges).
- Spray Angle: Make sure the spray pattern is perpendicular to the surface for even coverage.
- Sprayer Nozzle: Check that the nozzle is clean and not clogged, as this can affect spray quality. Some sprayers allow you to change nozzles for different tasks.
- Test Sprays: Conduct test sprays on sample surfaces to see how the paint applies, and adjust settings as necessary.
Correct sprayer setup is not only key to achieving high-quality coatings but also helps save time and materials. Adjusting the pressure, spray width, and other settings allows you to precisely tailor the tool to specific tasks and surface types. By conducting test sprays and regularly checking settings, you can ensure even coverage and minimize the likelihood of errors. Consistent practice and attention to detail when setting up the sprayer will help you achieve the best results, ensuring the longevity and aesthetics of every project.
Spray Technique
Let’s explore all the stages necessary for successful spray gun use. We begin with surface preparation, which plays a key role in achieving a high-quality coating. Then, we will discuss the correct spraying technique, from selecting the optimal distance and angle to the importance of movement speed. An essential aspect is also the application of paint layers: the right technique helps avoid defects and ensures a durable, beautiful finish. By following these recommendations, you can improve the quality of your work and guarantee the longevity of the applied coating.
Surface Preparation for Painting
- Cleaning: Remove dirt, dust, oil, or grease from the surface. You can use solvents, soapy solutions, or specialized cleaning products for this.
- Sanding: Sand the surface to improve paint adhesion. Start with a coarser grit and move to finer grits for a smooth finish.
- Filling Defects: Use putty to fill cracks, dents, and other imperfections, then sand it down to ensure a level surface.
- Priming: Apply a primer to enhance paint adhesion, especially for metal surfaces, to prevent corrosion.
- Masking: Protect areas that should not be painted using painter’s tape and paper.
Correct Spraying Technique
- Distance: The optimal distance from the sprayer to the surface is usually 20-30 cm. This depends on the type of sprayer and paint, so testing on a scrap piece may be required.
- Angle: The best spraying angle is 90 degrees to the surface to avoid drips and ensure even coverage. For edges or corners, you may need to slightly adjust the angle.
- Movement Speed: Move evenly and smoothly. Moving too quickly can result in poor coverage, while moving too slowly can lead to drips. It is important to find a balance so that there is enough time for even paint spraying.
Paint Layer Application
- First Layer: Apply a thin layer as a base. This helps the paint adhere better to the surface and highlights any gaps in coverage.
- Drying Time: Wait for the layer to dry before applying the next one. Drying time depends on the type of paint, humidity, temperature, and ventilation.
- Subsequent Layers: Apply additional layers, ensuring each one is thinner than the previous one, until you achieve the desired thickness. Usually, 2-3 layers are recommended for good coverage, but this can vary.
- Overlap Technique: When applying each layer, overlap by about 50% of the previous pass to avoid streaks and ensure even coverage.
- Drip Control: If you notice drips or droplets, allow them to dry and then lightly sand before applying the next layer.
- Final Layer: The final layer may be slightly thicker if needed for the desired color or gloss, but ensure there are no drips.
Remember, the technique may require practice, especially to achieve a professional look. Always test new techniques on scrap surfaces before proceeding with the main project.
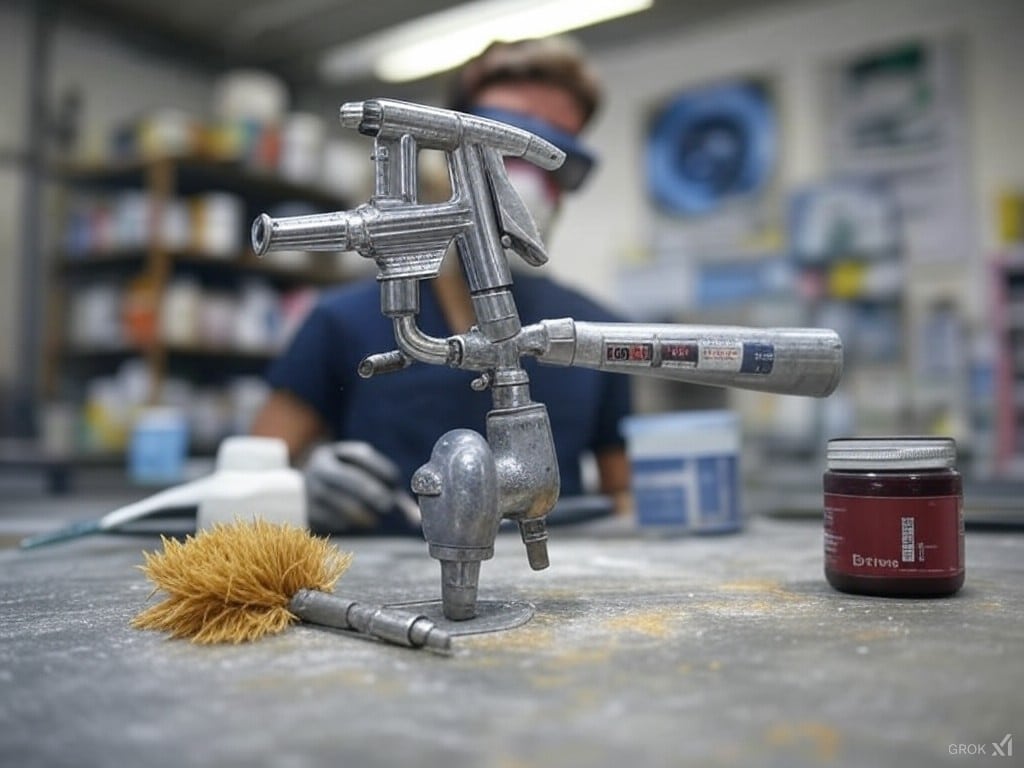
Spray Gun Maintenance
Proper cleaning and regular maintenance of the tool not only ensure its longevity but also guarantee high-quality spraying. Timely replacement of worn parts and thorough inspection of the device for blockages will help prevent malfunctions during operation. Also, don’t forget about proper storage to protect the spray gun from damage and contamination. By following these simple recommendations, you’ll be able to maintain the tool in excellent condition and ensure great results when painting.
Cleaning the Spray Gun After Use (For Water-Based Paints)
Immediate cleaning:
- Immediately after finishing work with paint, while it’s still wet, disassemble the spray gun for water-based paints.
- Rinse all parts, including the nozzles, needle valve, and body, using a solvent appropriate for the type of paint used. For water-based paints, use water; for oil-based paints, use white spirit or another suitable solvent.
Cleaning the nozzles and needle valve:
- Use a soft brush or brush to remove paint residue from narrow openings.
- Check for blockages in the nozzles and clean them with fine wire if necessary.
Washing the internal parts:
- Fill the spray gun’s reservoir with a solvent and flush it by briefly spraying the solvent through the system. Repeat until the spray becomes clean.
Drying and lubrication:
- After cleaning, allow all parts to dry or wipe them dry.
- Apply a small amount of lubricant to moving parts like the needle valve to prevent corrosion and ensure smooth operation.
Storing the Spray Gun
Assembly and storage:
- Assemble the spray gun after all parts are clean and dry.
- Store it in a dry, cool place away from direct sunlight and moisture.
- It is best to keep the spray gun in a special case or box to prevent dust from entering.
Preventive measures:
- Periodically check the spray gun for blockages, even if it’s not in use, especially if stored in damp conditions.
Repair and Maintenance
Regular inspection:
- Check the seals, gaskets, and connections for wear or leaks. Replace them as needed.
- Inspect the nozzles and needle valve for wear and replace them if necessary.
Replacing worn parts:
- Nozzles, needle valves, sealing rings, and other parts wear out over time. These can be purchased at specialized stores or from the manufacturer.
Preventive maintenance:
- Every few months or before starting a large project, perform a full disassembly and cleaning of the spray gun, even if it hasn’t been used. This helps prevent corrosion and blockages.
- Check the pressure and adjustment of the spray gun to ensure effective and even spraying.
Repair:
- If the spray gun is not working properly, refer to the user manual for troubleshooting. Common issues involve clogged nozzles, leaks, or incorrect settings.
- For complex repairs or if you’re unsure about handling it, it’s best to contact a professional service.
Proper maintenance of the spray gun not only extends its lifespan but also ensures the quality of your painting work, so don’t neglect these steps.
Safety When Working with a Spray Gun
Let’s look at the key safety aspects when working with a spray gun. Following these recommendations will not only protect your health but also promote effective and safe painting. Protection of the respiratory system, eyes, skin, as well as creating a safe working environment and using protective equipment properly will help avoid various risks associated with toxic substances and chemical reactions. Regular breaks, proper storage and disposal of materials, and adherence to safety instructions will ensure safety during the process and provide high-quality painting results.
Respiratory Protection
Mask or Respirator: Use a mask or respirator designed to protect against paint fumes and fine particles when working with a water-based spray gun. The choice depends on the type of paint:
- For water-based paints, a regular mask with a particulate filter is sufficient.
- For solvent-based paints or paints containing harmful substances, choose a respirator with a chemical filter (cartridge) of the appropriate class (e.g., A1P2 for organic vapors and dust). Ensure the mask fits snugly to your face for effective protection.
Eye Protection
Goggles or Face Shield: Protective goggles or a face shield are necessary to prevent paint from getting into your eyes. Goggles should be airtight to prevent splashes from entering. Face shields provide additional protection for the face and neck.
Work in a Well-Ventilated Area
Ventilation: Work in a well-ventilated area to avoid the accumulation of paint fumes and aerosols. If possible:
- Open windows and doors for natural ventilation.
- Use fans or exhaust systems to improve air circulation.
- If working in a closed space without natural ventilation, consider using industrial fans or air purification systems.
Additional Safety Measures:
- Clothing: Wear old or special work clothing that you don’t mind getting dirty. Long sleeves and gloves will protect your skin from paint splashes.
- Proper Grounding: Ensure the spray gun is grounded, especially if working with electrical devices or near them, to avoid static electricity buildup.
- Workspace: Clear any unnecessary items from the work area to avoid accidents and contamination of surfaces not meant for painting.
- Storage and Disposal: Follow the instructions for safe storage of paint and thinners. Dispose of waste according to local regulations, considering their toxicity.
- Breaks: Take regular breaks to get fresh air, especially when working with toxic materials.
Remember, safety is important not only for your health but also for ensuring quality work results. Always review the safety instructions from the paint and equipment manufacturers.
Frequently Asked Questions
How to Choose a Nozzle for a Spray Gun?
- Size of the nozzle: The choice depends on the paint viscosity and the desired coverage. For thin and light paints, use smaller nozzles (0.8-1.3 mm), for thicker paints, choose larger ones (1.4-2.0 mm).
- Type of painting: For detailed work (e.g., modeling), choose a fine nozzle. For painting large surfaces, larger nozzles are more suitable.
- Spraying: Use wide nozzles for wide spraying, narrow ones for precise application.
- Material: Nozzles can be made of stainless steel or brass. Steel is more durable but also more expensive.
- Compatibility: Make sure the nozzle is compatible with your spray gun.
How to Clear Blockages in a Spray Gun?
- Disassembly: Disassemble the spray gun following the manufacturer’s instructions.
- Cleaning the nozzle: Use a cleaning needle or fine wire to remove dried paint from the nozzle. Avoid applying too much force to prevent damaging the nozzle.
- Washing: Wash all parts that come into contact with paint using the appropriate solvent or cleaning fluid. For water-based paints, use water; for oil-based paints, use white spirit or similar solvents.
- Blowing: Use compressed air to blow out all channels and remove paint residues.
- Reassembly and Testing: Reassemble the spray gun and test its functionality by spraying water or solvent.
What Problems May Arise When Painting and How to Solve Them?
- Drips and Drops:
- Cause: Too thick paint or slow movement of the spray gun.
- Solution: Thin the paint or increase the movement speed. Clean up the drips after drying and apply a new coat.
- Uneven Coverage:
- Cause: Incorrect spraying technique, incorrect air pressure, or paint viscosity.
- Solution: Practice the technique, adjust air pressure, check and adjust the paint viscosity.
- Clogging of the Spray Gun:
- Cause: Using paint with particles, unfiltered paint, or inadequate cleaning.
- Solution: Use paint filters, regularly clean the spray gun, especially after use.
- Bubbles and “Orange Peel”:
- Cause: Incorrect paint viscosity, too high spray pressure, or painting on an insufficiently dry surface.
- Solution: Adjust the paint viscosity, reduce pressure, and ensure the surface is dry and clean before painting.
- Paint Drying in the Nozzle:
- Cause: Long breaks in work without cleaning.
- Solution: Clean the nozzle more frequently or use paint with a longer drying time, or store the spray gun in a sealed state with solvent in the tank during breaks.
Remember that regular maintenance and cleaning of your spray gun are key to preventing many of these problems.
Conclusion
Painting with a spray gun is an art that requires attention to detail at every stage, from surface preparation to applying the final coat of paint. Proper paint thinning, choosing the right nozzle, spraying technique, and the ability to avoid or resolve common problems all contribute to achieving a professional-quality finish.
Recommendations for Choosing a Paint Spray Gun and Paint
Recommendations for choosing a spray gun:
- Type of spray gun: For home use, HVLP (High Volume Low Pressure) models are ideal as they minimize paint consumption and provide precise control.
- Build quality and materials: Spray guns made of stainless steel with reliable seals last longer.
- Adjustability: Choose models with adjustable pressure, spray pattern width, and paint flow for versatility.
- Ease of maintenance: Easy cleaning and part replacement are key to the longevity of the equipment.
- Budget: Spray guns can vary greatly in price. Investing in a high-quality tool may pay off due to its durability and efficiency.
Recommendations for choosing paint:
- Type of paint: Choose paint based on the surface (wood, metal, plastic, etc.). Acrylic paints are suitable for most indoor applications, while alkyd and epoxy paints are better for outdoor or more demanding conditions.
- Viscosity: Select paints with viscosity suitable for your spray gun, or be prepared to dilute the paint.
- Compatibility with thinners: Choose compatible thinners to properly prepare the paint.
- Color and finish: Choose paint based on the desired color and finish (matte, glossy, etc.). It’s best to test the color on a small area first.
- Eco-friendliness and safety: Use paints with low VOC (volatile organic compound) content for indoor work and to protect the environment.
Painting with a spray gun requires not only high-quality equipment and materials but also practice. By constantly improving your technique, you will be able to achieve professional results. Choose your equipment, prepare the paint, and start bringing your ideas to life — each project will become unique and high-quality!